Santa brought my daughter a Kindle for Christmas, but he did not bring her anything to store it in when she wasn't using it. Charlotte is 8, and it was inevitable that the Kindle would be doing quite a bit of traveling to keep up with her. So I needed to whip up something... but it had to be girly as well as functional, right?
So here it is... made entirely of scraps and took me less than 2 hours to create!
I was inspired by
THIS Kindle Case, dubbed as a 'Fail' at Blue Robin Cottage.

Perhaps a 'Fail' in function, but I thought it was darling!
Ok... so I was determined NOT to fail on this one. Here is how I created my Kindle Sleeve.
Kindle Sleeve Tutorial
Materials Needed
Fabric:
- Outer Sleeve, Cotton (2 - 6"x8" rectangles, 1 - 6"x16" rectangle)
- Outer Sleeve Band, Cotton (1 - 3"x8" rectangle)
- Liner Fabric, Fleece (2 - 6"x8" rectangles)
Thread
Optional:
- Shoulder Strap, Cotton (1 - 3"x40" strip)
- Fabric for Rosetts
- Vinyl (1 - 3"x4" rectangle)
- Wax Paper (small chunk, if using plastic)
Directions
1) Measure your Kindle. I'm not going to assume that they are all the same size, but perhaps they are! Measure just to be sure. My daughter's Kindle measures 4-1/2" by 6-1/2".
Depending on how many rhinestones you have added to yours,
your Kindle may or may not measure larger. ;)
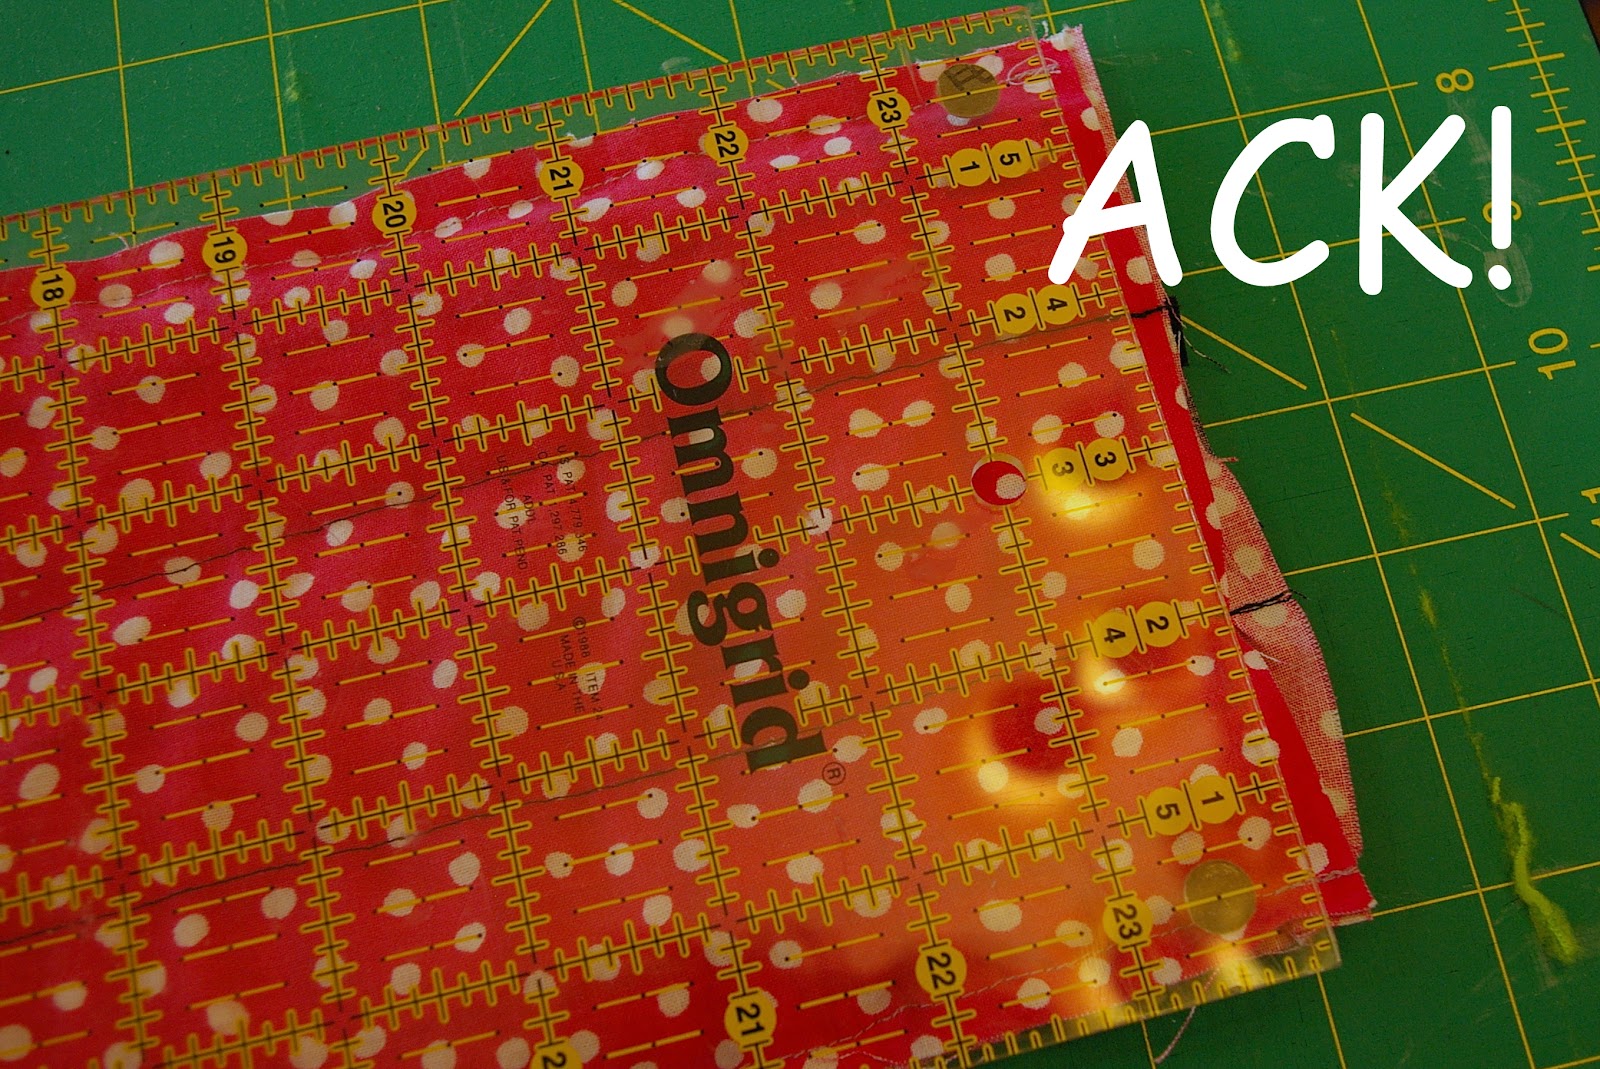
2)
Cut your fabric!You'll need to select two fabrics for the outside (I've chosen the pink polka-dot and the black with paws), and a soft flannel or fleece for the inside. Cut your fabric as directed in the photo above.
3)
Prepare your band.Turn the edges under on the length, about 1/4" to 1/2", and press.
4)
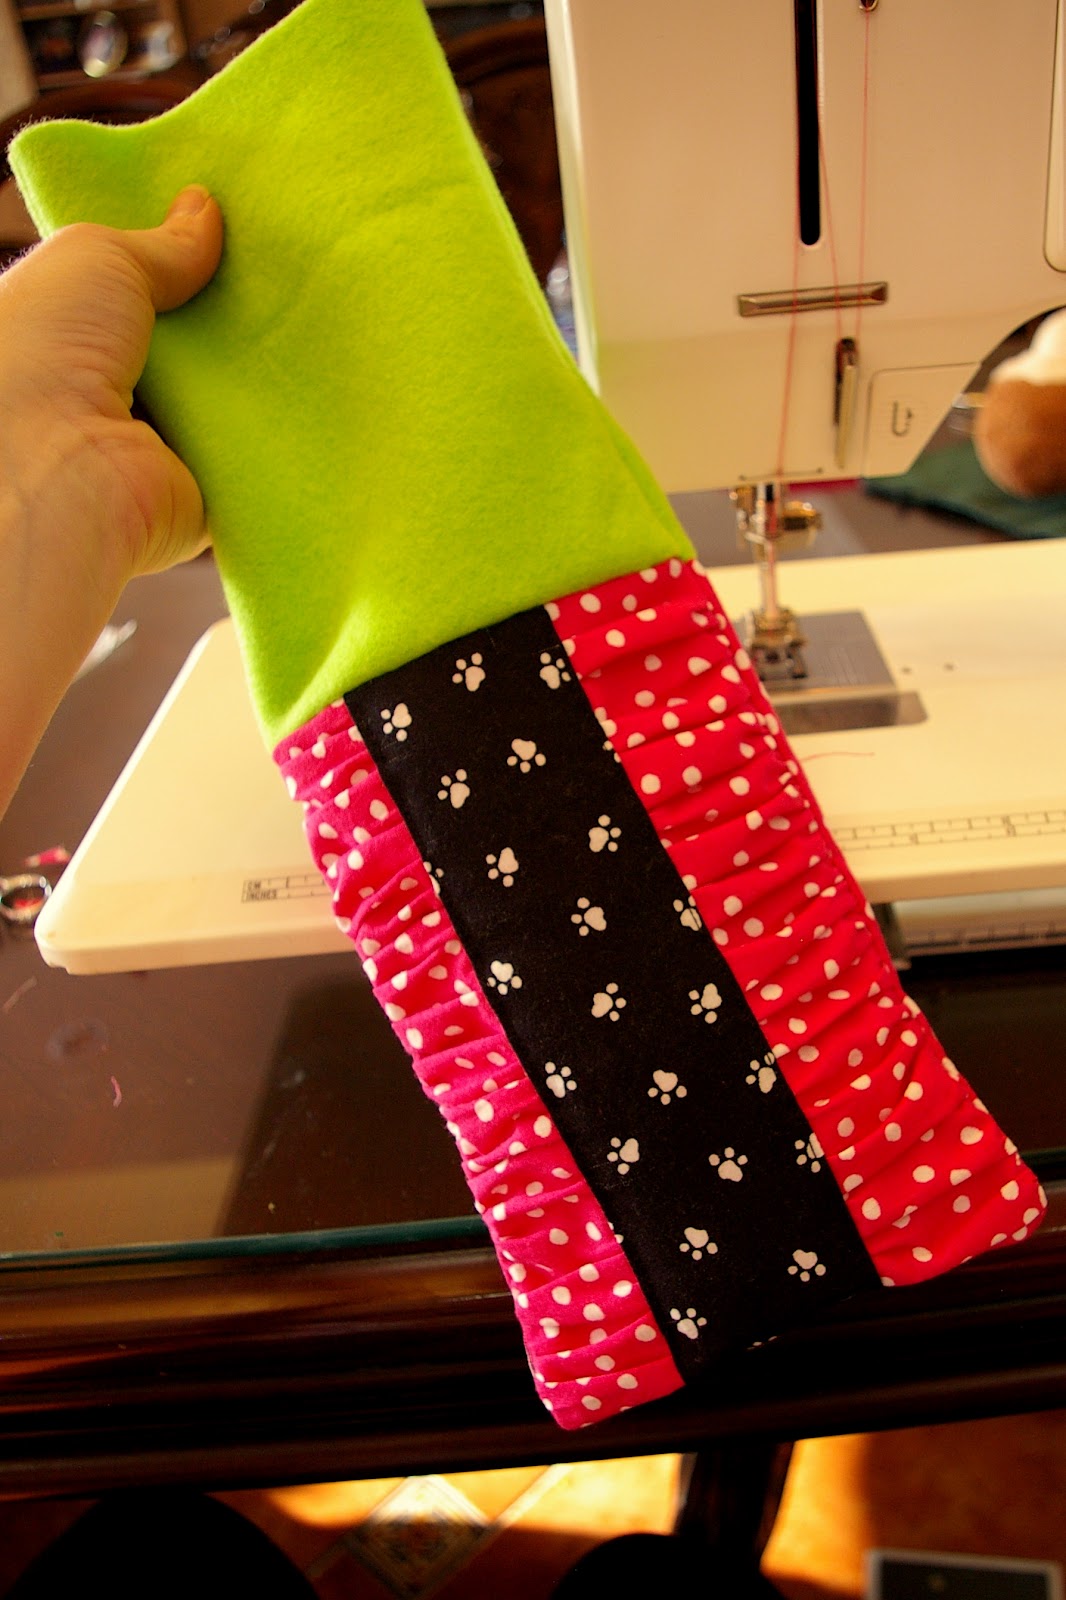
Prepare the ruffled front. Take your long rectangle (8"x16") and create three gathering stitches as shown in the photo below. One gather stitch will be down the middle, and the other two about 3/8" stitch from the edge.
You will want to create a gather on each stitch so your long rectangle matches the length of your smaller, 6"x8" rectangle.
Once they match, pin A onto B, as shown below.
I chose to pin back-sides together, but it doesn't really matter which direction your B fabric is facing... just as long as your ruffle print is on top! Once it is pinned you can even out your ruffles a bit.
Next, sew your fabrics together. Sew along each edge where you have your ruffle stitch (not the center), with a 1/4" stitch. Do not sew over your gather stitch, or it will make it difficult to pull out!
Pull out the gathering stitches along the sides (leaving that in the center).
5)
Attach the band. Decide if you want your band in the center or slightly off-center. Pin it in place, making sure your ruffles are evenly separated underneath.
Then sew along the edge of the band to secure it.
When you are finished, you may find that the "front" panel of your sleeve is a little out of wack. No worries... just trim it back to it's 6"x8" size and carry on... :)
6)
Add an ID pocket.
OptionalI happen to have some vinyl on hand from a previous project, so I thought it would be great to add a little ID pocket in case the Kindle was left behind somewhere.
SOMEWHERE in blogland I remember coming across a tip to use wax paper over top of the vinyl when you are sewing... as it keeps your needle from sticking. AWESOME tip!!!
Add your vinyl square on the 6"x8" rectangle to be used for the back of the sleeve, place a piece of wax paper over top, and sew along three sides of the plastic to secure it.
Now you just carefully tear away your wax paper!
7)
Finishing it off. With right-sides together, pin a 6" edge of one lining rectangle to a 6" edge of your sleeve front, like below.
Then... with right-sides together, pin a 6" edge of the second lining rectangle to a 6" edge of your sleeve back, like below.
Then sew, using a 3/8" seam allowance.
Lay your pieces, right-sides together, as shown below...
making sure your seams are lined up as shown in the photo on the right.
Pin the three sides as shown, leaving the end of the lining fabric open.
Sew along all three edges pinned above, using a 3/8" seam allowance.
Snip the corners as shown below, being careful not to cut into your stitching!
Turn right-side out....
Sew a stitch along the open edge of the liner. You will never see this... so don't worry if your thread doesn't match, like mine :) Just sew close to the edge!
NOTE: I first trimmed off about 1/4" since I wasn't using the 3/8" seam allowance here.
Tuck the liner inside... and Viola!
Here's the real test... does it fit???
SUCCESS!
8)
Finishing Touches! I love the fabric rosettes that have been popping up everywhere. We have made several for other projects, and I thought they would be perfect for this. So I found three fabrics in similar colors, but different texture, and made some embellishments. I also cut a couple of leaves from the extra fleece from the liner to make leaves.
I attached the rosettes and leaves using a glue gun.
HERE and
HERE you can find some great tutorials for making fabric rosettes.
9)
Need a strap? I thought it might be useful to have a strap so my daughter could use it more like a purse, as we travel quite a bit. So I cut a long strip, folded it in half, and stitched along the edge like you see in the image below.
Turn it right-side out, and attach.
Now... I wish I had thought to add this sooner, as I would have sewn with the lining. Because I hadn't, I tucked the edges in to make a nice ends on the strap, folded them in and stitched them onto the sides as you see in the photo below.
It works! :)
And here, Charlotte has added her ID card, with her name. I put my phone and e-mail contact information on the opposite side.
One happy reader, and one safe Kindle!
Now... to make one a little less fancy for dad.
Happy Sewing!